When you click on links to various merchants on this site and make a purchase, this can result in this site earning a commission. Affiliate programs and affiliations include, but are not limited to, the eBay Partner Network.
Won't start, looking for help to guide what it might be
Hi All,
I figured that I would ask my question here and see if anyone can help. I looked through the Internet but not sure how to find the answer to what I'm looking for...
I bought this car knowing that it does not start but I was hoping that I could figure this out.
I have a suspicion of what might be going on but I wanted to see if anyone here could also give me some guidance. You can see the video of me trying to start the car. I think that the water pump might be broken as when I try to start it, I see the water coming out. Also, it sounds like it wants to crank but just can't. I'm also suspecting a head gasket thinking that maybe there is coolant in the spark plug wells which is preventing the car from starting. Anyway, I was hoping that after listening to it, someone might be able to tell me if my suspicions are anywhere near correct....
By the way, I'm not sure how to exactly upload the video so it shows inline, sorry about that.
^
Is the check engine light on or are there any DTC codes?
How many miles are on the car & what year is this TL?
In addition, what is the 'back story' of the car, if you know it from the previous owner as to why you purchased it as a 'no-start?
^
Is the check engine light on or are there any DTC codes?
How many miles are on the car & what year is this TL?
In addition, what is the 'back story' of the car, if you know it from the previous owner as to why you purchased it as a 'no-start?
this is a 2003 TL.
there are no codes on my scanner but maybe because the car does not run and the computer can�t pick anything up. There are no previous codes.
i bought the car at public auction so that�s why it was a hit or miss and I guess in my case it was a miss.
therefore I have no backend story about this car so I have no idea what happened. I guess I�m going to take it apart and see if I can either locate the leak but also maybe see if the head gasket was blown and replace it.
I think that the water pump might be broken as when I try to start it, I see the water coming out.
A good place to begin, in determining why the car won't start, would be to check the timing & timing belt components.
Where exactly do you '...see the water coming out'?
It appears to be next to the power steering pulley on the block. Not sure where it exactly comes from but that's the spot it starts to become visible. Also, it looks like a small streak giving the appearance that it could be coming from a crack but that might not be the case depending on what path the water finds I guess... Not sure if this helps
It appears to be next to the power steering pulley on the block. Not sure where it exactly comes from but that's the spot it starts to become visible. Also, it looks like a small streak giving the appearance that it could be coming from a crack but that might not be the case depending on what path the water finds I guess... Not sure if this helps
thanks for uploading the video, I almost missed it in your first post and the video is a lot of help.
so from the looks of it, your engine is turning over smoothly...and it seems like there was some amount of combustion going on...I would start with the checking the components of the fuel & ignition system, but also work your way in slowly in terms of tearing everything apart.
check the connections in the fuel pump relay,
check the spark plugs, then check that the ignition coils are generating a spark when seated on the spark plugs
then check fuel pressure at the fuel pressure regulator (this is back on the fuel side of things, but requires more tools than the spark plug / ignition check)
then check the engine compression
then check the fuel injectors.
Thank you for all the suggestions! Much appreciated!
I have pulled the main relay (what I think is the fuel pump one). I inspected it and it looks ok, no visible signs of damage. I'm attaching pictures of it here. I also took the injector rails out and I saw fuel in them when I removed one of the injectors. Maybe this indicates that fuel gets in there?
I also took pictures of where I see the coolant leak which I'm also attaching to this post. The location is right next to the power steering pully right next to the engine mount...
Quick update on my situation. I'm still trying to locate the coolant leak. I have taken the upper and one part of the lower intake manifold out to see if I can find it. I'm also attaching a few photos of where I see the most residue of the K-Seal which I used in hopes of fixing it. I guess that did not work. Anyway, the most residue (goldish in color) can be seen right where the power steering pump pulley is. It kind of does not make sense why it would be there? Not sure where it would be. Maybe some of you have seen something like this before and can point me in the right direction? Please see the photos for the details.
^
It appears that you may have to remove the water pump and / or intake runners to see more of what may be going on?
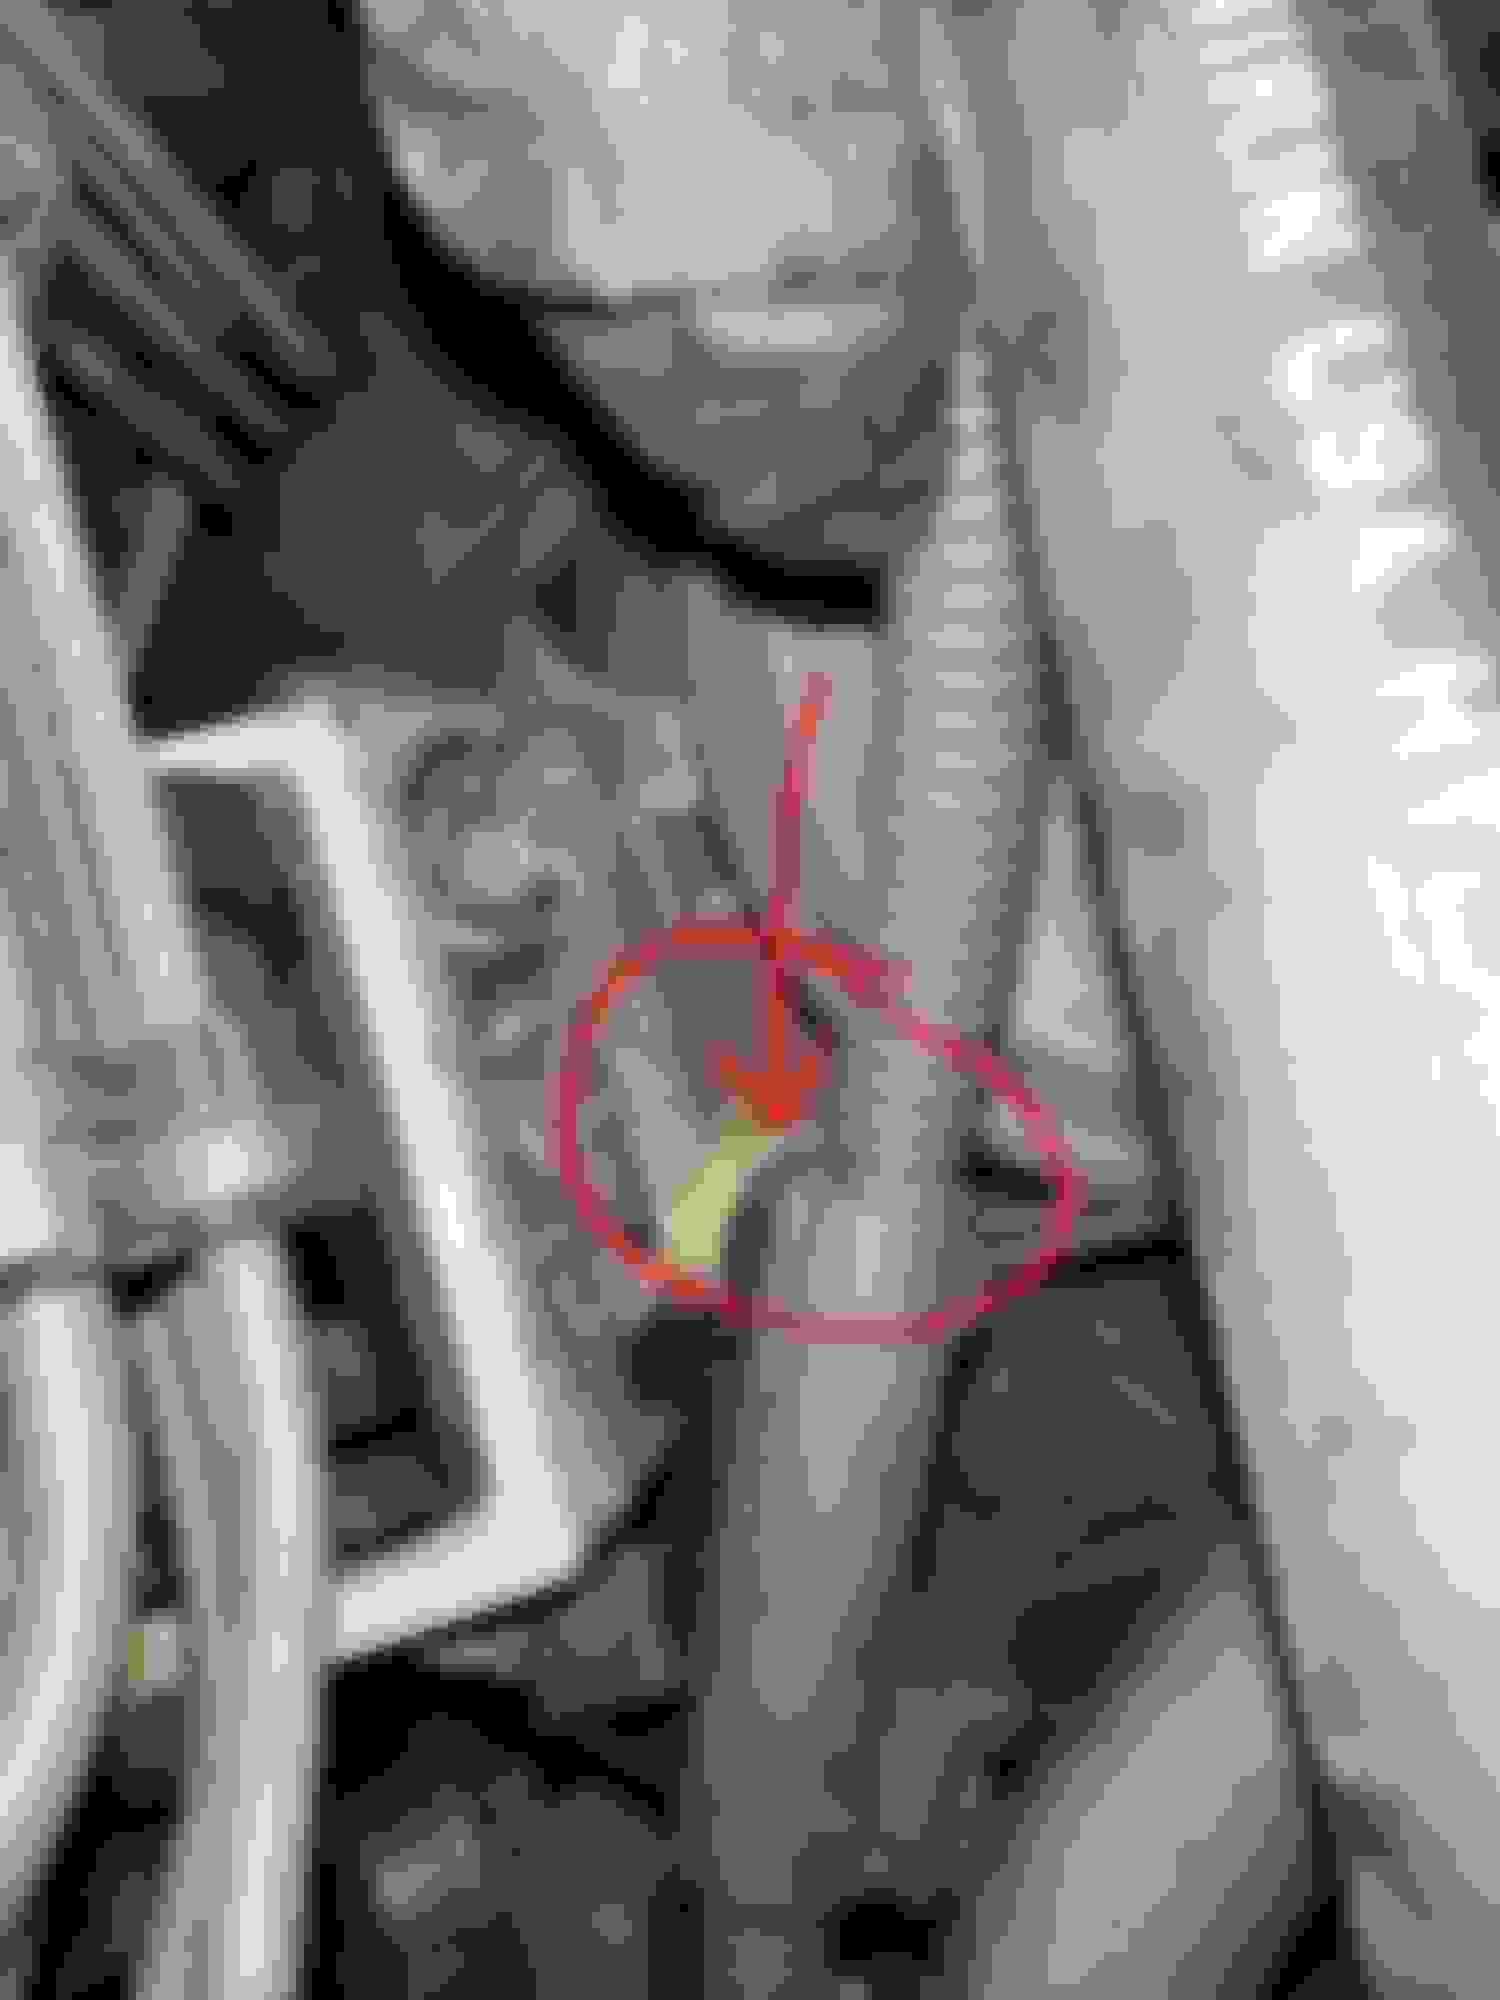
As I mentioned in my post above there is a connecting pipe in that area & the water pump.
The yellow arrow shows what the water pump assembly looks like with the TB covers removed in the picture below.
The red arrow indicates the direction, within the 'valley' below the intake runners, of the #10 connecting pipe to the #7 water passage on the other side of the engine.
Thanks for the answer. This is exactly what it has to be. I did not realize that the water pump was that close to the top! For whatever reason I thought it was lower... Anyway, I bet that's the connection between the pump and the engine block that's leaking then. I wonder if there is a way to change the water pump without disassembling everything just like when you do the timing belt. Maybe I could just take the TM belt covers off, take the tensioner out and take the belt off of the cams and then get to the water pump? I would just have to mark the belt so I put it back on the same exact way... Or do I have to take everything out, put the belt to TDC position, then remove it and then the water pump?
Much easier to do it right and setup to TDC and mark it. Proceed like you are going to put in a brand new timing belt (hell it may need it). This can save you headaches later, Check everything while you have it apart, rollers sensors etc.
I mean.. you're already there, might as well just replace the timing belt and all related parts (tensioner, pulleys, etc. Ifyou're going to restore it, do it right from the getgo
Yes, you're right. I might as well just get those replaced. I bought a whole kit from amazon that includes all the parts so I will just replace those. I also got the engine to start earlier but it was running rough. I got misfire codes on cylinder 2 and 4 so I'm also getting new coils and spark plugs so I will replace those as well. We will see if after all that the engine start running smoothly and stops leaking coolant.
i'd strongly suggest you return the Amazon items and buy them either from RockAuto or Honda/Acura directly.. there's been far too many counterfeit offerings out on Amazon/eBay including MULTIPLE threads on this site echoing those concerns...
You can also get coils (Hitachi is OE) and Plugs (NGK Laser Iridium ONLY) from RockAuto at the same time... Get the Aisin kit on RA and be done with it..
or get the amazon kit, run the risk, and have to re-do it all over again, the choice is yours.
+1 on this. The worst I've had happen is a brand new hydraulic tensioner going out after like a day of use.
Replace all the timing components since you're in there already. It sucks when you're first figuring out how to do it all, due to the tight space in there. I would highly recommend NOT putting all the timing cover bolts on, because some are pretty difficult and annoying to reach (rear cam cover).
As for the main relay, plug it and hold it, and switch the key over to electronics. Do you feel and/or hear a click? The solder joints can look fine, but I've even had ones that look perfectly fine and don't work. If it's not clicking, then it's bad. It's simple to fix. Just reheat all the joints with a soldering iron, and it should be good to go.
Also, +1 on the O-ring being bad on the water tubing. I tend to lube them up a little bit before putting the pipe in place. They tend to get twisted and/or tear otherwise. I highly doubt the water pump gasket is leaking, but it's certainly not impossible. My guess is the O-ring is dry/brittle/torn, and the pressure from the water pump is causing it to spray upwards towards the power steering pump. It's a simple fix, but a bit annoying and time consuming to get to. Just remember to lube the O-Rings.
Thank you for the tips. The kit for the pump and timing belt includes the O rings which I presume are the ones that I need to replace. I will keep in mind the lubing of them prior to putting them on. My kit does not include the tensioner. I will buy it separately...
Puzon23, As you restore the car, search the threads here before you purchase, There are many threads on different problems and parts and you will find some parts can be substituted with aftermarket but some aftermarket parts will cause you nothing but problems. As you can tell by the comments above these people have done this before. Unfortunately cheap parts are usually just that cheap and either don't fully work correctly or work for a short period of time. This can be Ok for parts that are easily replaced but for hard to replace parts I highly recommend you don't skimp on quality. For a timing belt kit, I used a kit by GATES from Rockauto, this kit is similar. At the time I bought a ASIN water pump separately as it wasn't in the I purchased. There is one in the kit now. There is also the ASIN kit which I would also recommend. These kits are more expensive than the one on Amazon but they are known and have been used before in these Acura's, with success. Your call but changing the timing belt is a pain (unless you pull the engine), and personally I would not want to have to do it twice.
Thank you for the tips. The kit for the pump and timing belt includes the O rings which I presume are the ones that I need to replace. I will keep in mind the lubing of them prior to putting them on. My kit does not include the tensioner. I will buy it separately...
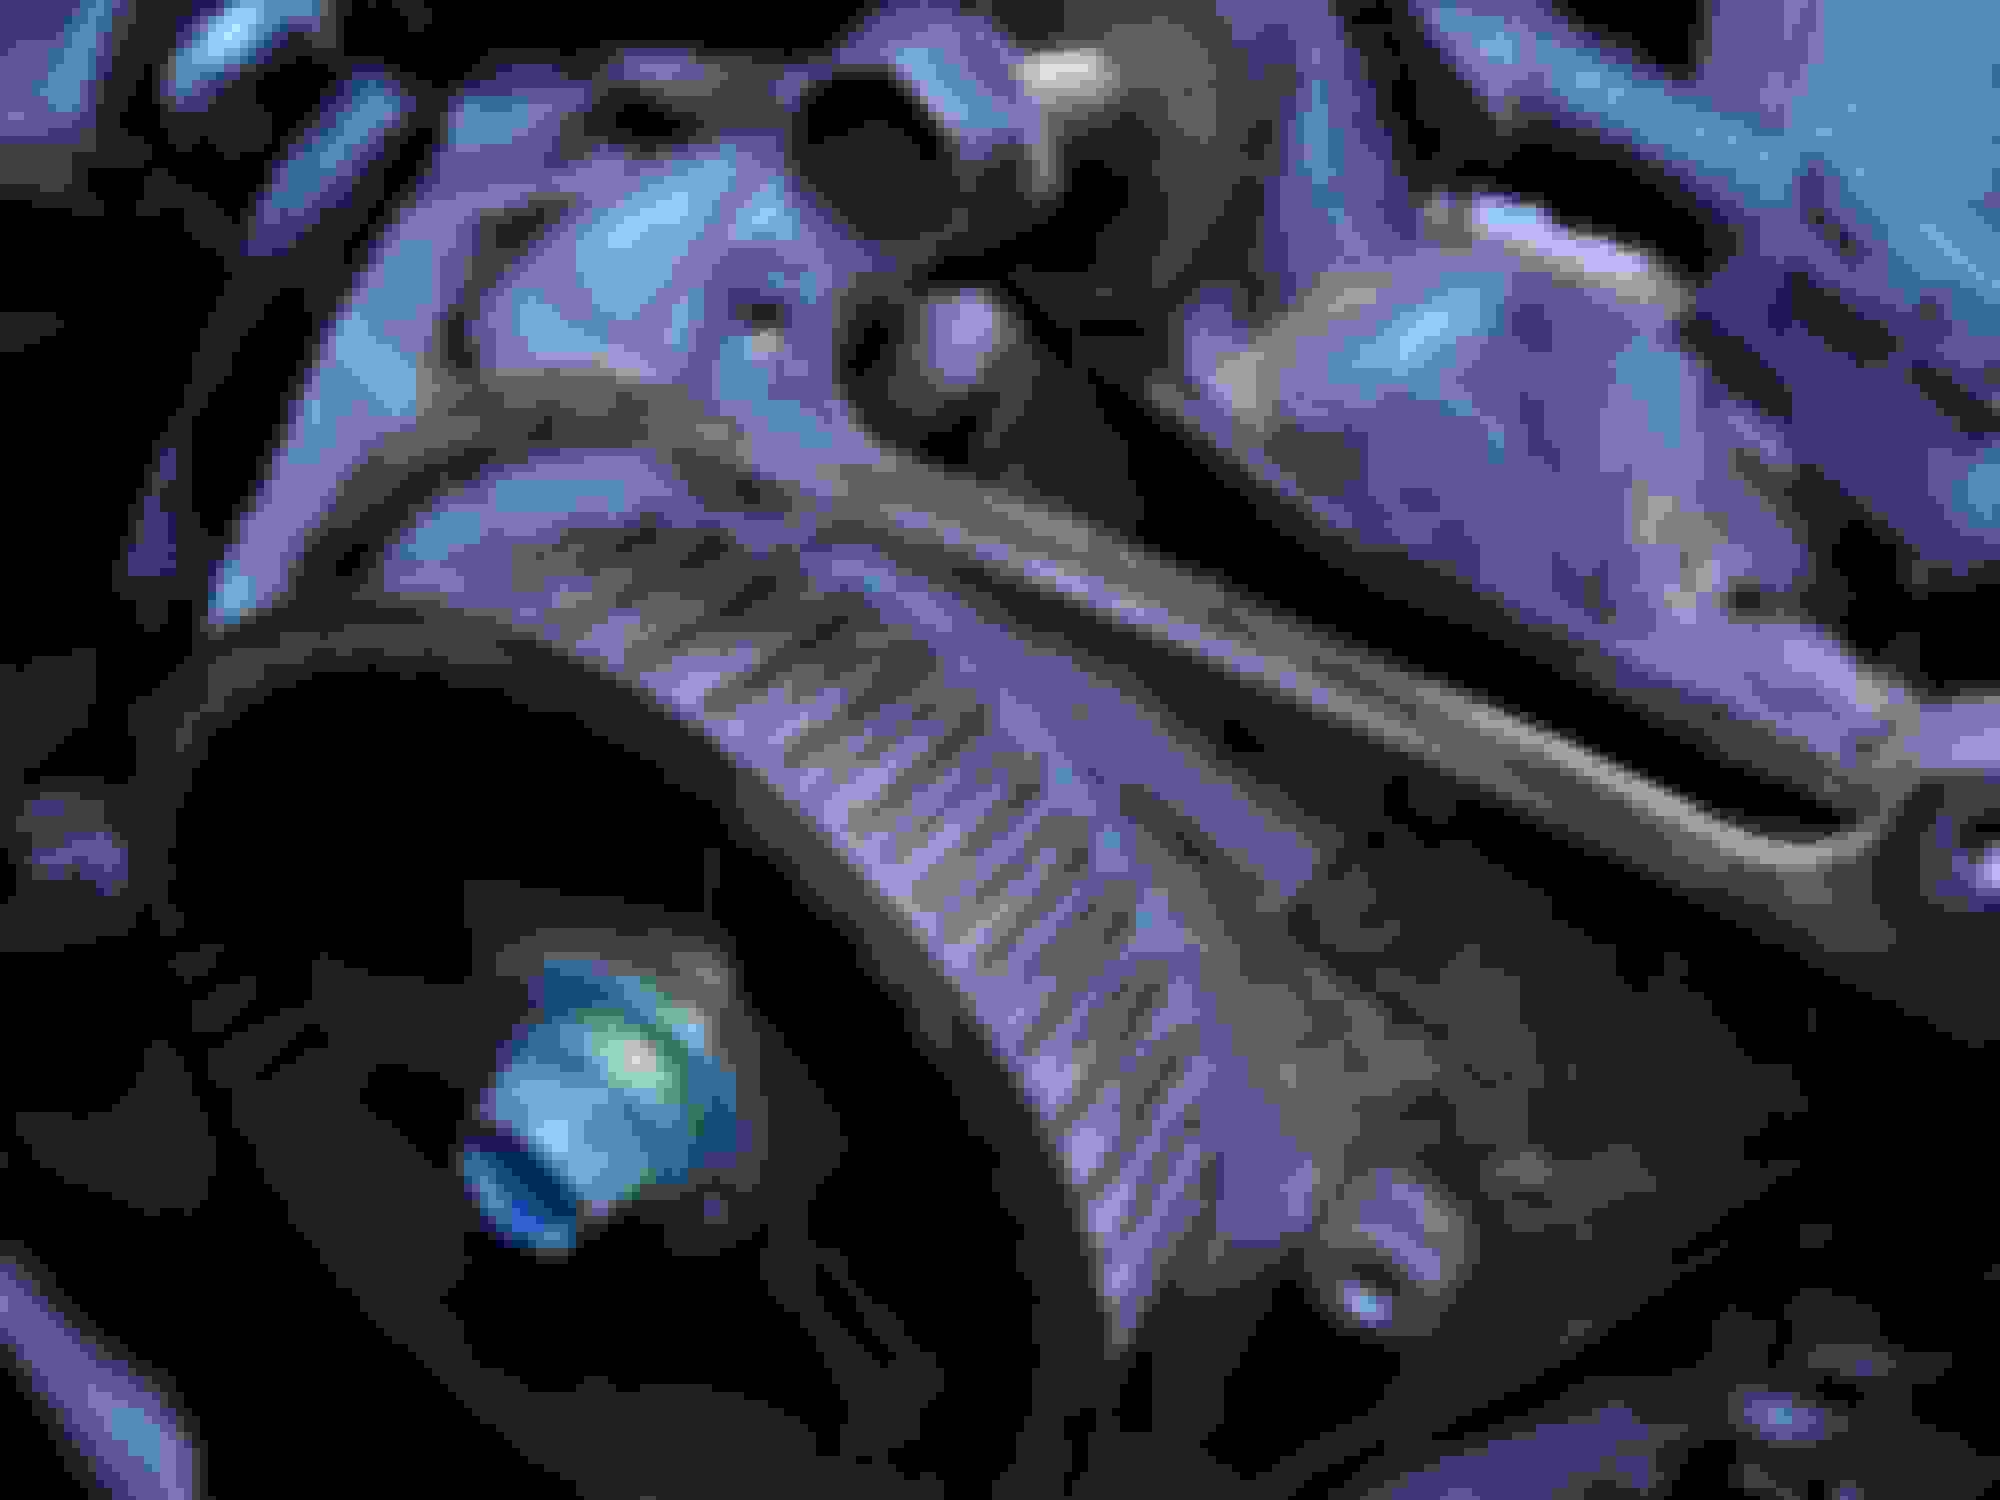
My best guess is that the seals you see below, from your kits amazon link above, are two cam shaft seals (red) and the pulley side crankshaft seal (yellow).
If, upon disassembly, you do in fact find that the WP side connecting pipe #19 O-ring is the culprit to the coolant leak you are experiencing, then you will either have to 1) purchase it at a local Acura or Honda dealership, 2) order it online from rockauto, 3) purchase it from an online Acura / Honda vendor.
I searched autozone / advanced auto / o'reillys and did not find it available.
You are correct. Those seals are for the cams.
However, you can just go to harbor freight or any auto parts store, and just buy a box of differently sized O-Rings. They're nothing special.
quick update... So I am in the process of doing the timing belt and now I have a problem. I did what I noticed in some videos which is mark your belt after you move the cams to TDC. Seems like things are lining up but now when I put the new belt on, I'm not so sure. I'm attaching pictures here which show that front cams appears to be aligned to TDC but the back cam is not. You can see that clearly in the pictures that I attached. I also moved the camshaft pully separately and aligned it with its TDC. I tried moving the back cam to TDC on its own, but I can't. I only "jumps" like half a rotation to another position but not to TDC. I thought you could just rotate it but I believe there are the springs inside where the valves are and they are not letting me rotate smoothly but only "jump". Do you guys have any idea what I need to do here? I have the Acura manual and it states clearly to align both cams and the shaft to their own corresponding TDC points and then put the new belt on.... I'm worried that if I put the belt on as it is now, I will bend the valves... I tried taking pictures of the cams but it's very hard to get a good picture of the rear cam as it is obstructed... Hope someone has some ideas on what I need to do here...
I see and thank you for your quick replies! Yes, the plugs are still installed. So does removing them allow me to simply turn the cams in the same way I am able to turn the crankshaft pulley? That one I can rotate as much as needed until I got it exactly to TDC. This would be great because then I will have them both exactly at TDC and the marking on the belt are irrelevant...
Anyway, I was going to change the sparkplugs and coils as my next move so I might as well remove them all now, adjust both cams to TDC and install the belt. Once I'm done with that, I will install the new sparkplugs and coils. BTW, I was able to start the car before and it ran like a diesel tractor which led me to believe the sparkplugs and coils were bad. I just wanted to take care of the coolant leak first...
When I have to redo the timing belt, I prefer loosening up the valve lash. I mean, when was the last your motor had it done they probably need to be adjusted anyhow. By loosening them, it'll let the cam gear move freely, and not that springing jump you're speaking of.
I ran into something similar doing a timing belt last month, except I removed the belt without putting everything at TDC. I had to move the front cam/ rear cam, crankshaft separately until it all got in time. Best advice I can give you is GO SLOW. Going slow will prevent the cams from jumping, if you push fast, it'll jump more. I had no issues moving the cams clock or anti-clockwise to get back into time.
I see but that's not what is happening in my case. When I try to move the cam slowly to get it back into TDC it gives me quite a bit of resistance and moves like I'm tightening a spring which I believe are the springs... When I let go, it goes back to the starting point. If I go harder, it goes passed the TDC mark and "jumps" to another position. So basically the only positions I'm able to get the rear cam to are either where the TDC mark is a about 2-3pm clock position or 9-10pm clock position of the cam was a clock. There is no way of adjusting it to the top 12 o'clock position like you are describing...
I see but that's not what is happening in my case. When I try to move the cam slowly to get it back into TDC it gives me quite a bit of resistance and moves like I'm tightening a spring which I believe are the springs... When I let go, it goes back to the starting point. If I go harder, it goes passed the TDC mark and "jumps" to another position. So basically the only positions I'm able to get the rear cam to are either where the TDC mark is a about 2-3pm clock position or 9-10pm clock position of the cam was a clock. There is no way of adjusting it to the top 12 o'clock position like you are describing...
Actually, that's EXACTLY the issue I ran into, I had to take a break from the job, take a breath and go back to it later. Seriously, GO SLOW.
. I copied right at the mark where Eric the Car guy addresses this exact thing. Have faith, it will work and like the others suggest, PULL THE SPARK PLUGS, do yourself a favor.
Thank you for the link. This is the exact video I watched before starting this job However, it appears that for Eric the cam just kind of moves back when he uses that 17mm wrench on it. For me, it feels like I'm winding up a spring when I move the cam. When I release, the cam does not stay but "jumps" back to the original position where I started. If I don't stop and continue moving the cam it eventually "jumps" to the next stopping point... Again, I will remove the sparkplugs when I get back to doing it probably next weekend and see if that helps the jumping and see if the cam stays when I stop pushing it with the 17mm wrench...
Thank you for the link. This is the exact video I watched before starting this job However, it appears that for Eric the cam just kind of moves back when he uses that 17mm wrench on it. For me, it feels like I'm winding up a spring when I move the cam. When I release, the cam does not stay but "jumps" back to the original position where I started. If I don't stop and continue moving the cam it eventually "jumps" to the next stopping point... Again, I will remove the sparkplugs when I get back to doing it probably next weekend and see if that helps the jumping and see if the cam stays when I stop pushing it with the 17mm wrench...
Hahah, ETCG is fricking fantastic, you chose wisely. I get it man, and like we all said, that is completely normal. Just take off the spark plugs, take a breath and go slowly up to the 1 mark.
As everyone has already chimed in, I can only add that after the plugs are out it should move less. Mine still moved so I started it out about a 1/2 tooth out and when It moved it was right on. but as everyone has said being patient is the key. I had to walk away from it a couple of times.
When I have to redo the timing belt, I prefer loosening up the valve lash. I mean, when was the last your motor had it done they probably need to be adjusted anyhow. By loosening them, it'll let the cam gear move freely, and not that springing jump you're speaking of.
This is a great tip! I'll be doing this next time...
I just wanted to take care of the coolant leak first...
Let us know what the culprit ended up being, in regards to the coolant area you had previously shown above.
Like if it was the O-ring, a crack or whatever?
Quick update... I removed the coils and sparkplugs and moving the rear cam to TDC was a breeze. Took me less than 30 seconds to get it to TDC. I also adjusted the front cam a little bit but with that I have a question... There seems to be a little play on the front cam meaning that I can move it by a tooth or so out of TDC and then move it back almost without any force, almost by hand. How should I set it? I'm assuming that I should put it in TDC in such a way that when the cam is resting, it should be at TDC and when I put the belt back on it stays at TDC... This makes the most sense to me but I thought I'd ask anyway... Thanks!
Did you mark on the belt/sprockets where the belt was placed previously? should just be a matter of lining those marks up.
If you didn't the belt placement sequence noted in the service manual is critical to ensure you have the appropriate number of teeth between the crankshaft, front and rear cams.
Make certain to follow the procedure of hand turning several revolutions and inspecting the timing at all marks once more, if it's good you should be ready to go.
taking your time, rechecking the manual as you go along to avoid any missed details should be the path to success.
 02-11-2024, 03:56 PM


 and like the others suggest, PULL THE SPARK PLUGS, do yourself a favor.

